

PermalinkAre you excited to start work with Linux? but do not know to install and run Linux on your desktop or laptop, then you can brush up this blog.
PermalinkIn this blog you going to give a glance at how to install and run Ubuntu Desktop on VM ware.
First, Let’s discuss how to install VM Ware?
VM ware helps you to run various Operating Systems in same physical computer. It takes fewer physical servers to host many applications.
Link to download VM Ware
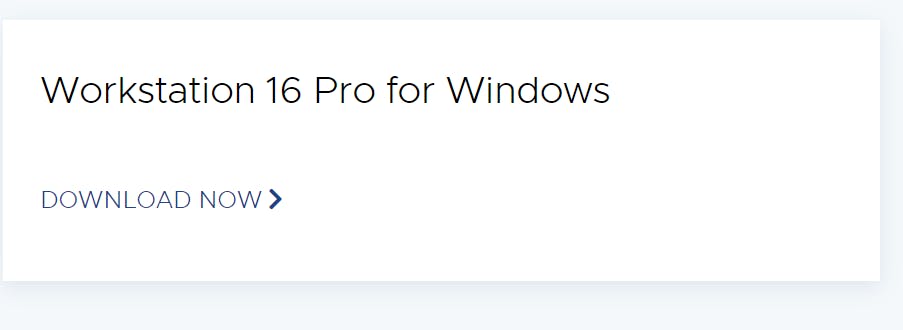 Click download now
after downloaded open the folder where the VM Ware installer downloaded. By default, it will be on downloads
Click download now
after downloaded open the folder where the VM Ware installer downloaded. By default, it will be on downloads
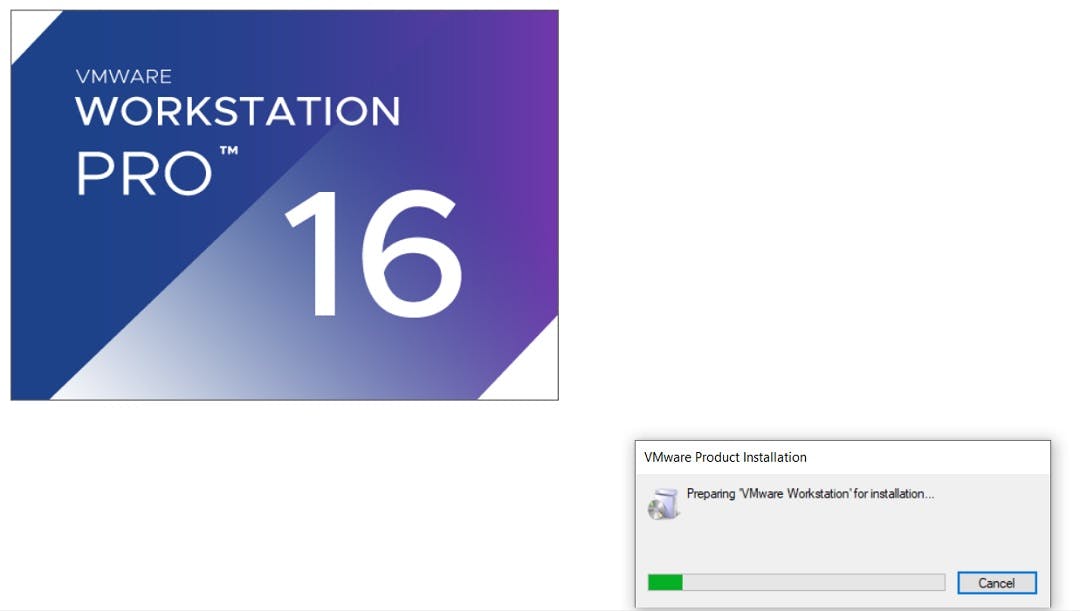
At very first, this initial screen would appear, wait until it’s fully loaded.
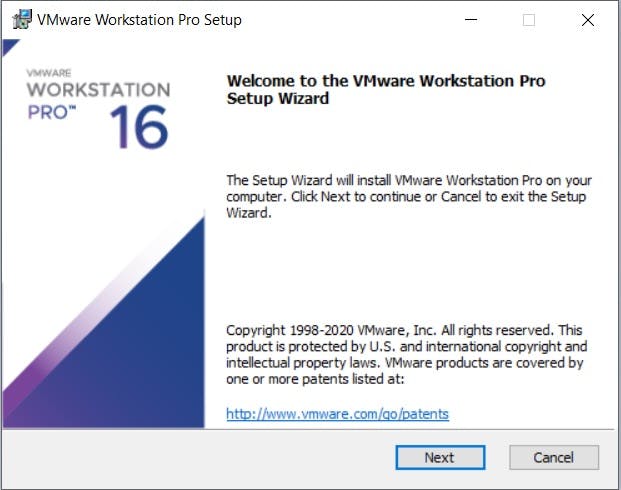
Now you’ll see a dialog box VM Ware Workstation setup wizard. Click next to continue.
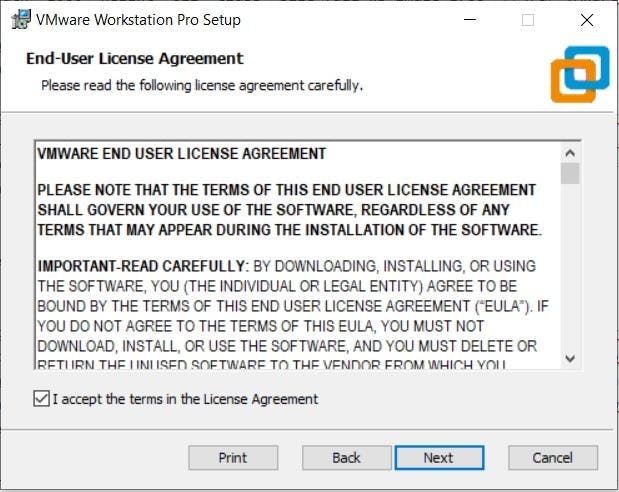
 Check “I accept the terms in the License Agreement,” and click to next
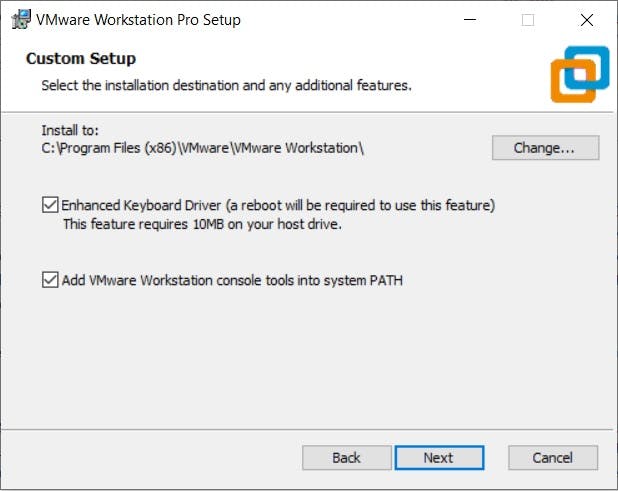
 Select the folder in which you like to install your application. There is nothing to harm in leaving as it is. Also check Enhanced Keyboard Driver check box.
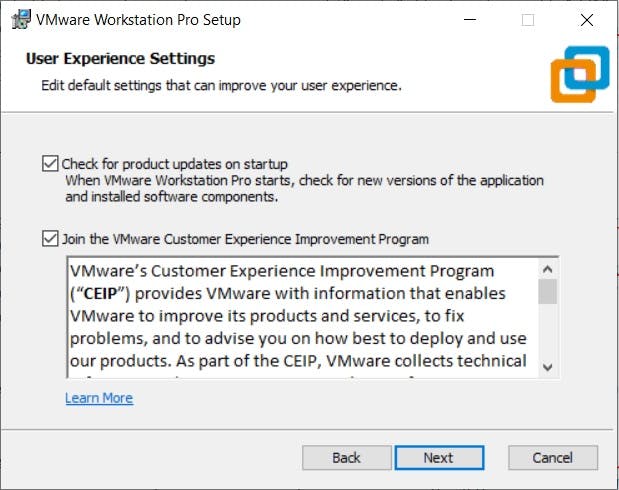
Next they ask you to select “Check for Updates” and “Help improve VM Ware Workstation Pro”. It’s up to you. I left it as default.
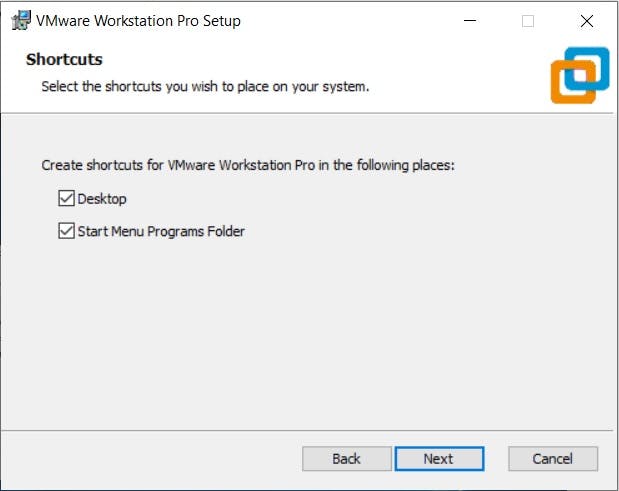
 Now you can check the boxes for shortcuts, it’s not mandatory to check you leave them remains unchecked
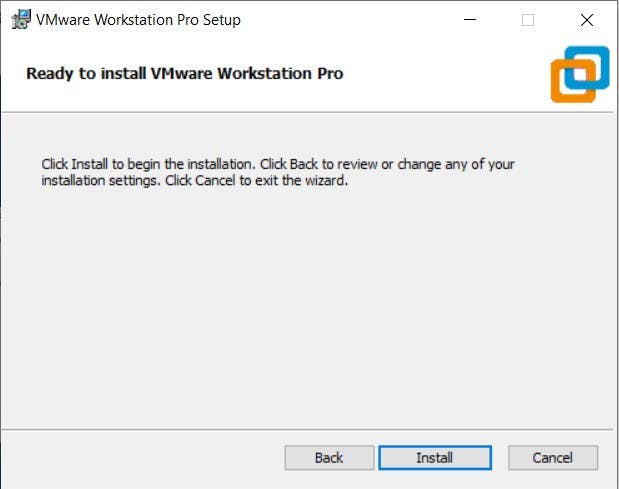
 Now all it ended with the initial process, you can see a dialog box where it asks you to install, click install and wait until it finishes. It may take a few minutes.
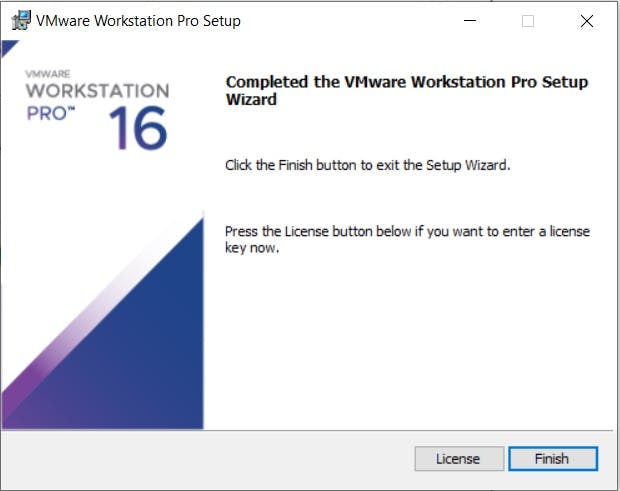
 After Install click finish and you ended up with the installation process
 Now go to the VM ware icon. If you have settled up to showcase in Desktop, you can view the icon, double click to launch else go to the start and search for VM Ware.
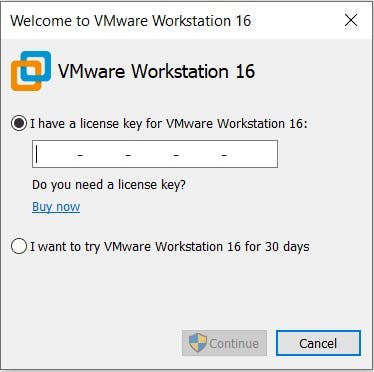
If the “License key“ dialog box pop up leave it as a free trail for 30 days.
Now go to the VM ware icon. If you have settled up to showcase in Desktop, you can view the icon, double click to launch else go to the start and search for VM Ware.
If the “License key“ dialog box pop up leave it as a free trail for 30 days.
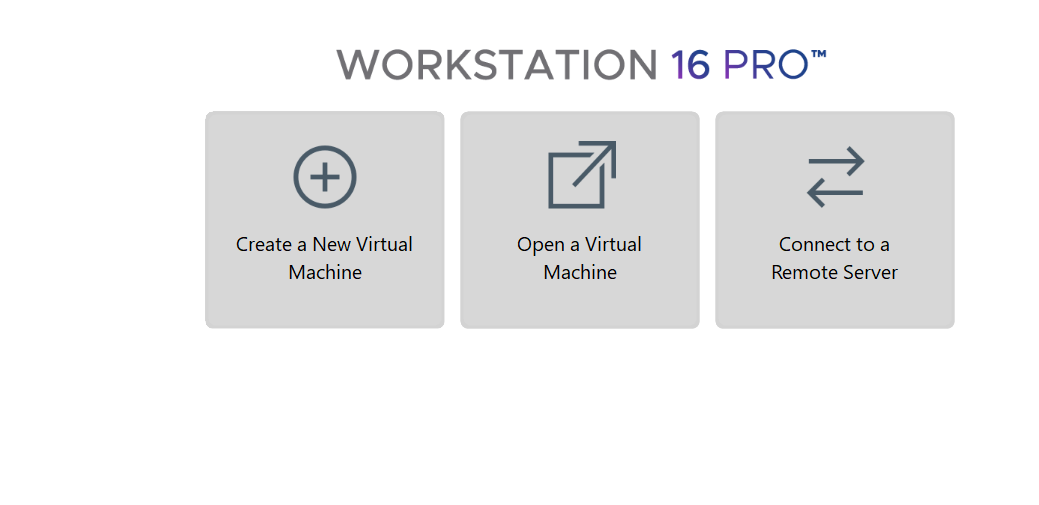
That’s it now. You can view the screen as shown below. Now we’ll download Ubuntu.

PermalinkUbuntu Installation
Download link Ubuntu Desktop Click download, it will start downloading after it finishes, move to the VM Ware and click Create a new virtual machine.
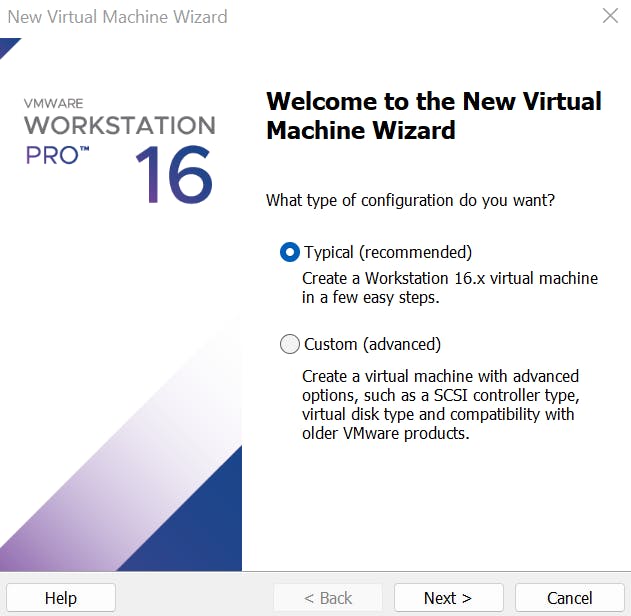
 Now you can see a dialog for configuration leave it as default and click next to continue.
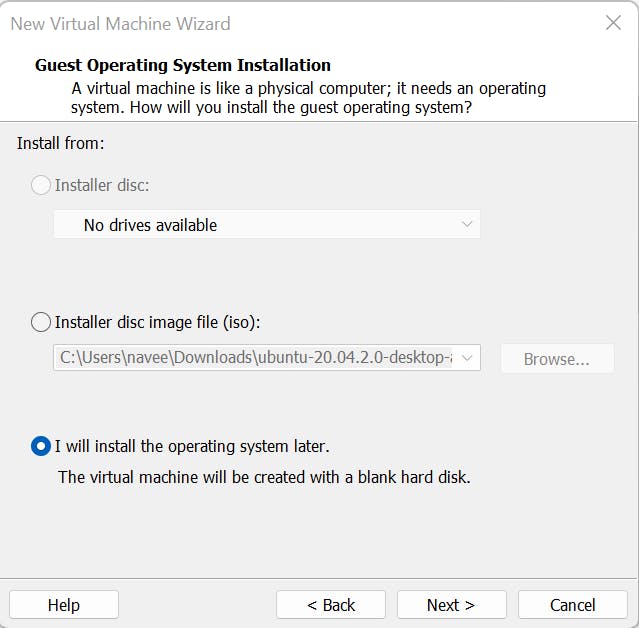
 Check second option and click next to continue, since we have already downloaded the ubuntu desktop.
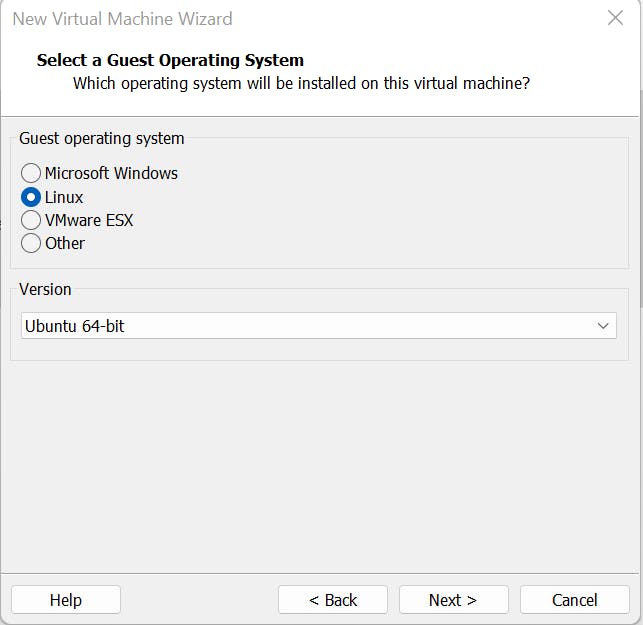
 Choose Linux and version Ubuntu 64 bit it supports 32bit also, click next to continue.
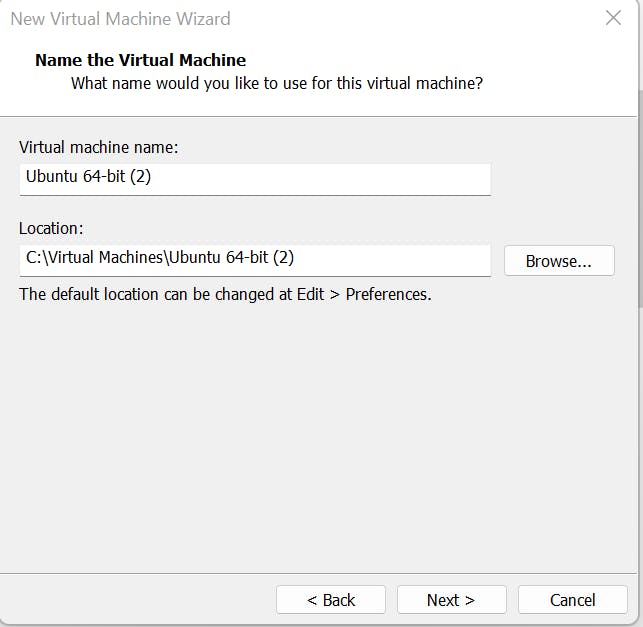
Now choose a path to install or you can leave it as default or choose a path to install
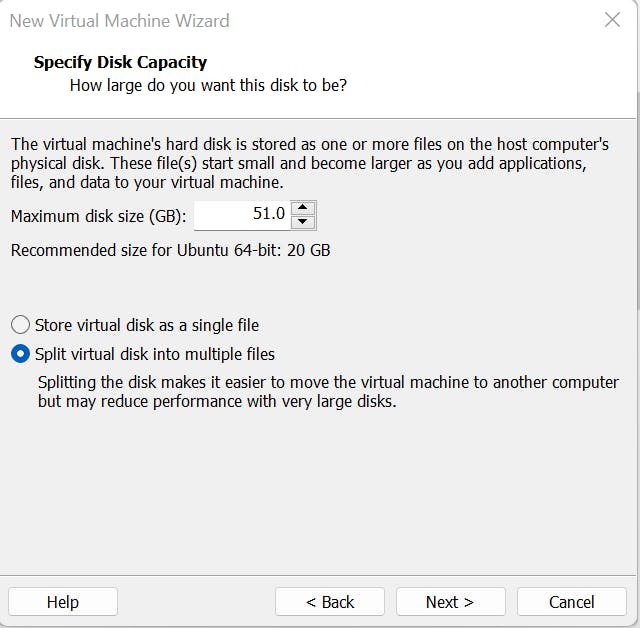
 Now you have set the disk capacity for Ubuntu set is as 50GB or you can even increase , the recommended capacity is 20GB click next to continue.
 Now you can custom your hardware by clicking the custom hardware button after that this screen would appear.
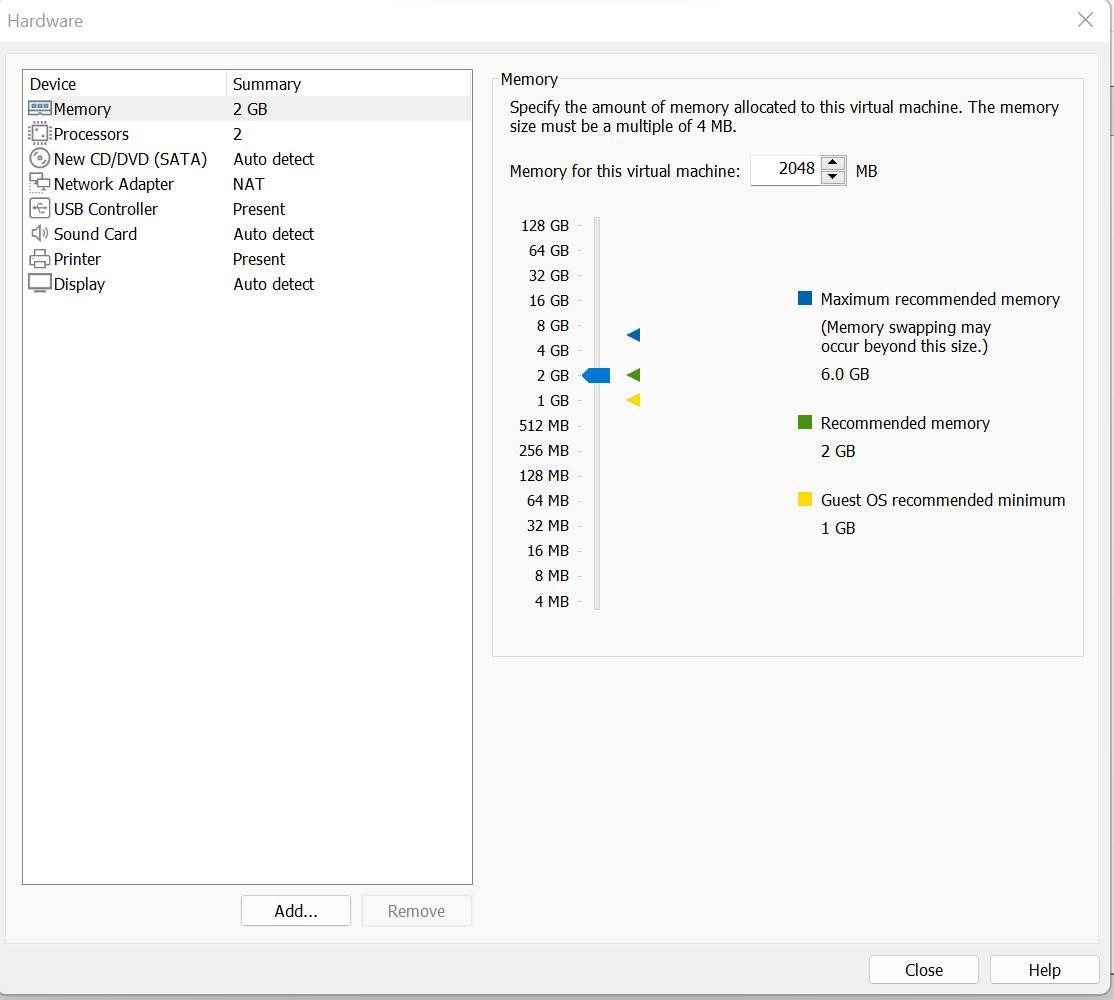
Set the memory to 8 GB by moving the scale present in right hand side or leave it as default and click close.
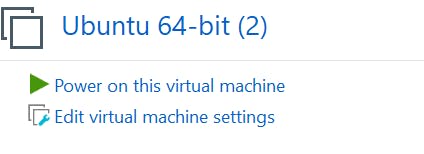
Now you can see a new tab Ubuntu 64-bit move to that tab and click Power on this Virtual Machine.
 Now your Ubuntu server starts run it may take few minutes after that you are asked to setup the language choose whatever you prefer and click next , now you are asked to choose Update Software, check all the three and click continue.

Now you can see an installation type dialog leave it as such it doesn't delete any of your file in host OS.
 Now it asks for the location according to what language you had chosen, click continue or chooses any location you prefer.

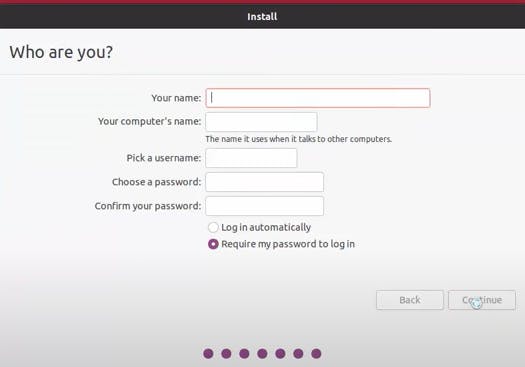
Now it ask you for signup so give your name, password and click continue.
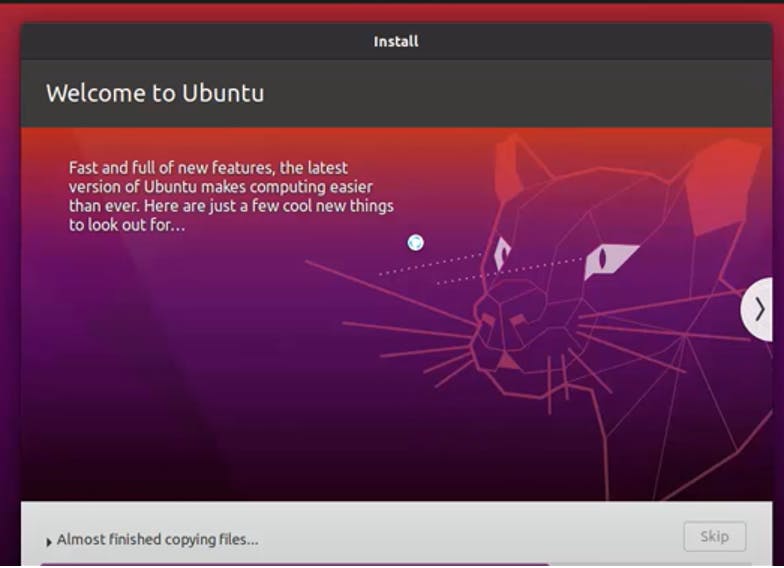
 Now it starts installing and take few minutes wait until its done.
After install it ask for restart now so go for it , After finishing restart now your Ubuntu installation process in VM Ware has come to an end you can login again and start to work in Ubuntu
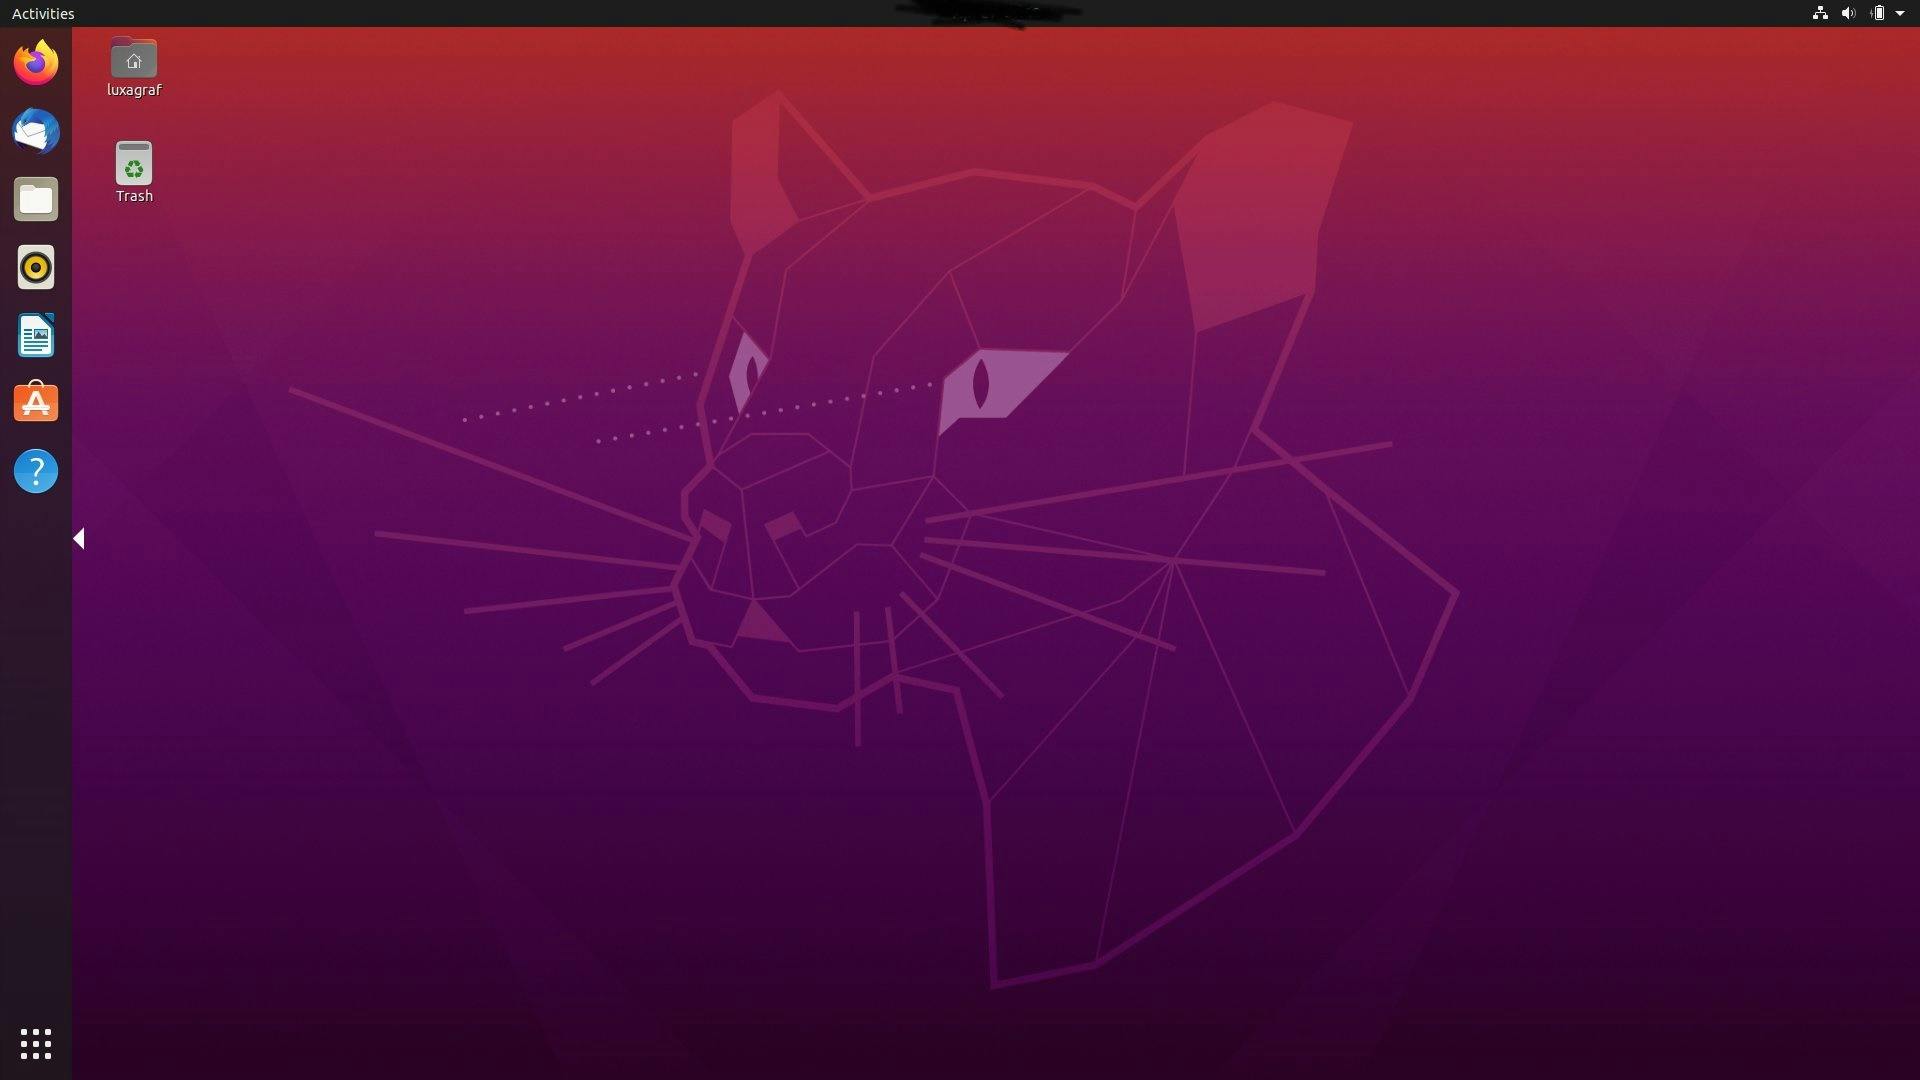
Yeah!! Ubuntu is installed and running on your virtual Machine.. Why are you waiting go start your work in Ubuntu.
PermalinkConclusion
In this blog we have learnt how to download and install VM Ware and run Ubuntu on Virtual Machine. Do you find useful? comment below..

